


One of the most challenging things that bloggers face is photography development skills which takes years of practice. Some take short ways and rely only on editing their photos by using filter, presets and actions. But one still need a good quality photograph so that the editing actually work. I suggest for new bloggers to watch lots of photography tutorials on youtube and educate themselves very well about this very important method to make a blog stand out. Here is my Photography / retouch tips and tricks pinterest board where I collected lots of useful things.
I've been blogging since 2006 and my photos back then were nothing comparing to what I managed to achieve right now. Just looking back at my 2014 blogpost photos I see clearly that I got better at taking photos, thanks to learning how to use my camera manual mood. I am still on the learning journey by the way.
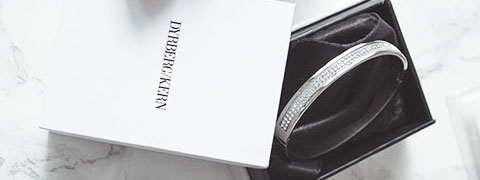
Even best pro photographers still edit their photos using tools like psd and lightroom. I usually edit my food and travel photos in lightroom and the rest on photoshop. I save my editing routine to action and presets which saves me time and help me edit a large number of photos with just a click. So here I share with you one of my often used psd actions to light up and add a touch of modernity to my blog photos.
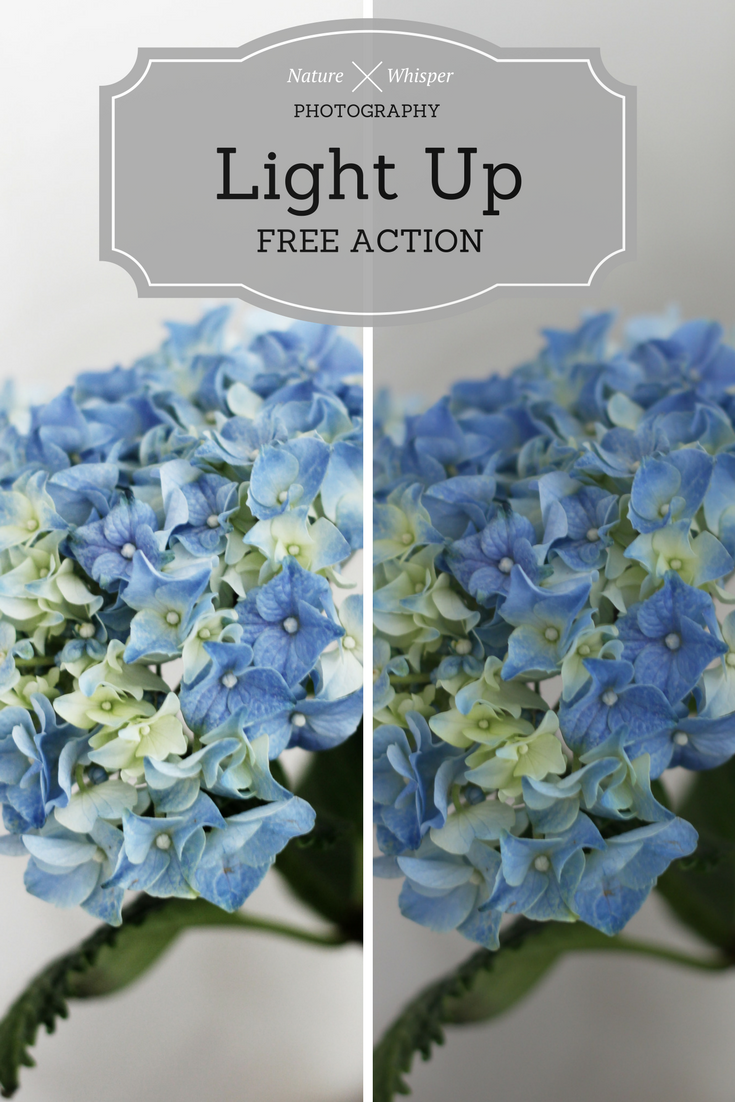
This action folder has two action parts within it. Number 1 reduces the red hue from the image to add a modern minimal clean style touch to photos and of course brighten them up. Number 2 keeps the same red hue of the original image and only lights up the image and fix the contrast to match the exposure.
Once you apply the action, two more layers will be added one to control the exposure and one for the contrast. You can still edit them manually by changing the opacity of each layer. I suggest using 50% each if the 100% results were too bright. As you see below the exposure opacity was reduced to 80% when I edited this image. Once you are satisfied with the image result select all 3 layers, merge to one and save. I hope you find this action usefull to edit your blog photographs from now on :-) enjoy!


.png)


No comments